Drip Campaigns
A drip campaign lets you send a series of emails to a mailing list automatically, with a set time gap between each one. It is perfect for onboarding new leads, following up after a form submission, or nurturing contacts over time.
Last updated 3 months ago
Creating a Drip Campaign
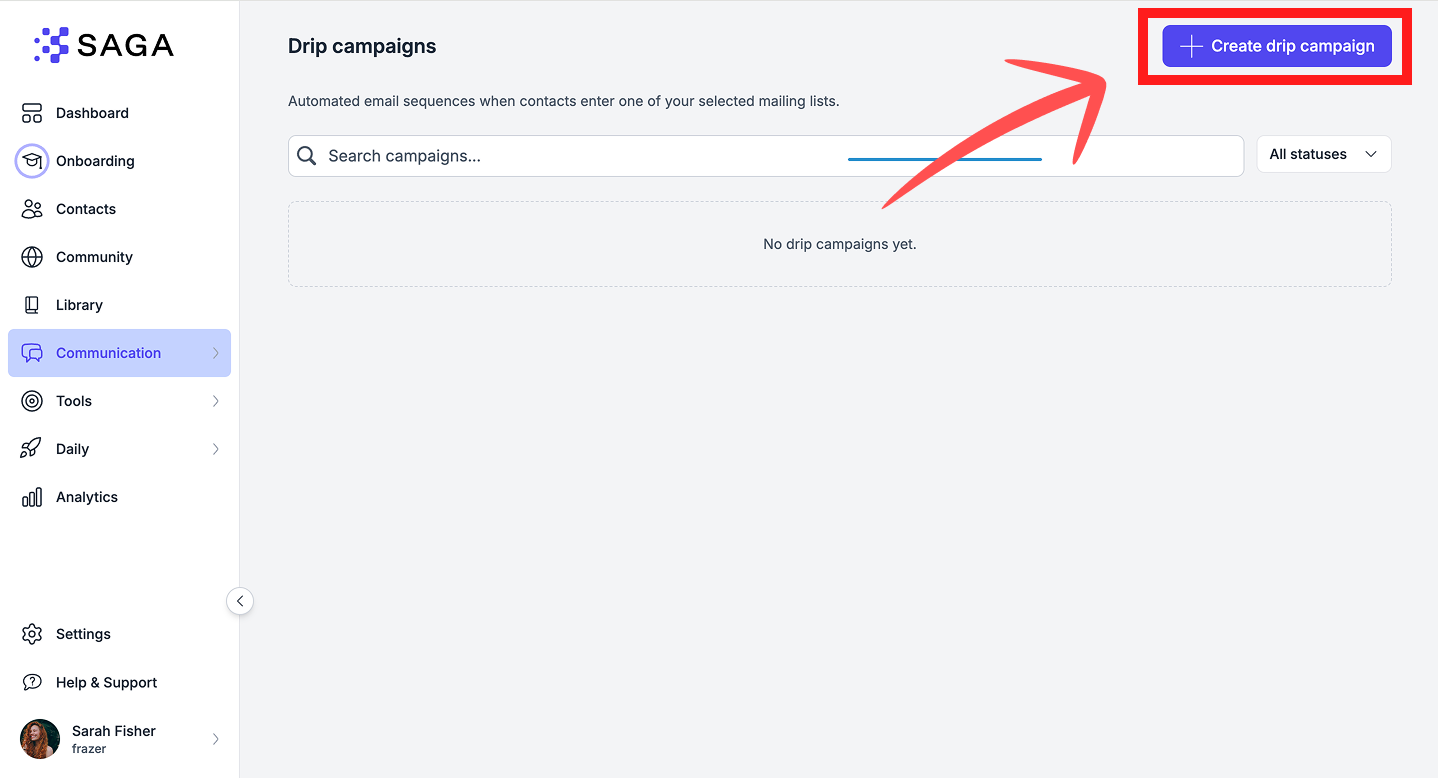
Go to the Drip Campaign page from the left menu.
Click Create New.
Give your campaign a name.
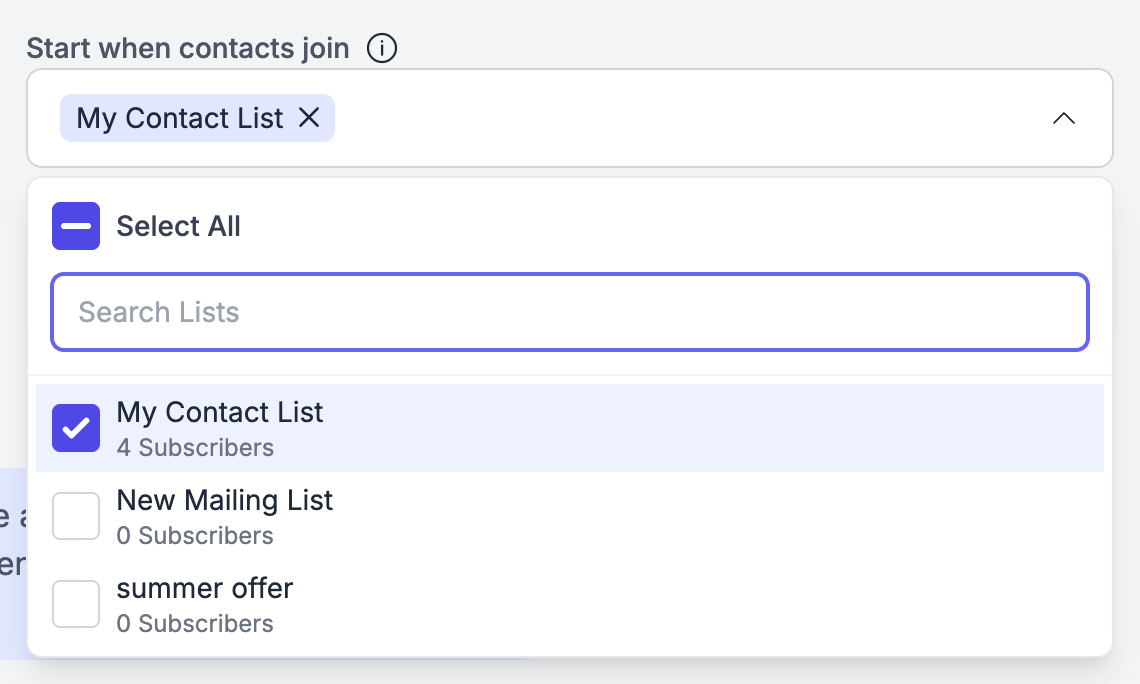
Under Start when contacts join, choose the mailing list you want to send to. Every time a contact is added to this list, the sequence begins for them automatically. You can use a dynamic list (contacts added automatically based on a label) or a manual list (contacts you add yourself).
Set the From name and From email your emails will be sent from.
Building Your Email Sequence
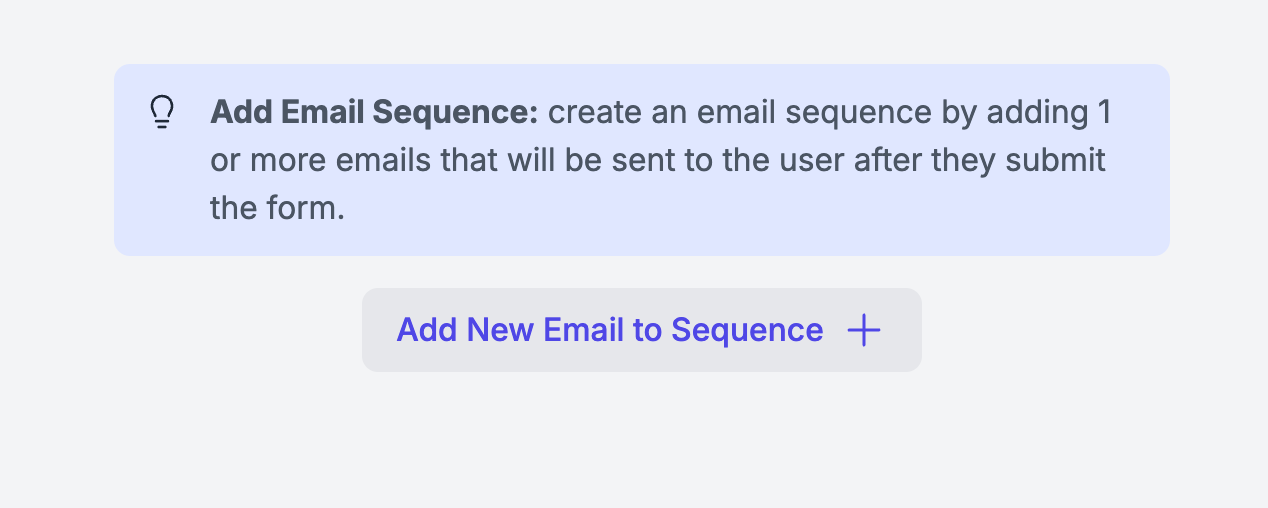
Click Add New Email to add the first email in your sequence.
Write the subject line and the content.
Choose Simple Text for a quick plain email.
Choose Template for more formatting options. Learn how to use email templates →
Repeat to add as many emails as you need.
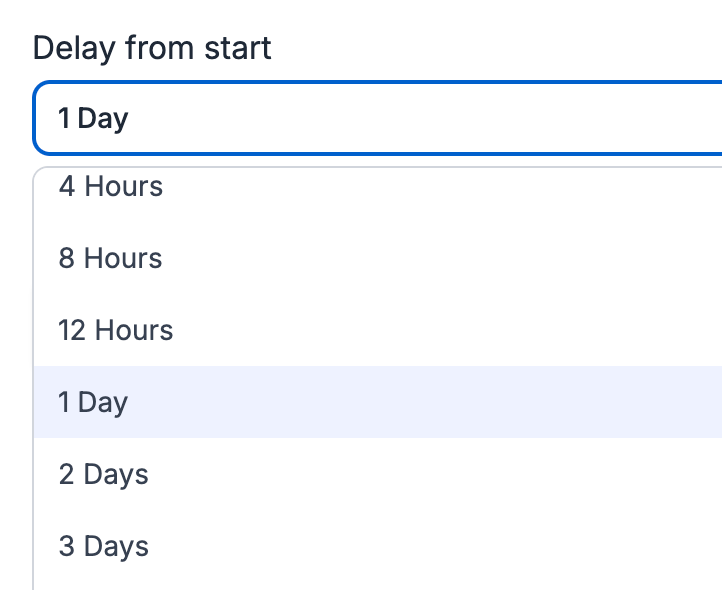
For each email, set the time buffer: how many days after the sequence starts the email should be sent. The buffer is counted from the start of the sequence (when the contact joins), not from the previous email.
Click Save after editing each email.
Saving and Activating
When your sequence is ready, you have two options:
Save – saves the campaign as a draft so you can keep editing it later. No emails are sent yet.
Save and Activate – activates the campaign, and the first emails start going out.
When you activate, choose how to handle people already in the mailing list:
Send to everyone – the sequence starts immediately for all current members.
New members only – only people added to the list from now on will receive the emails.
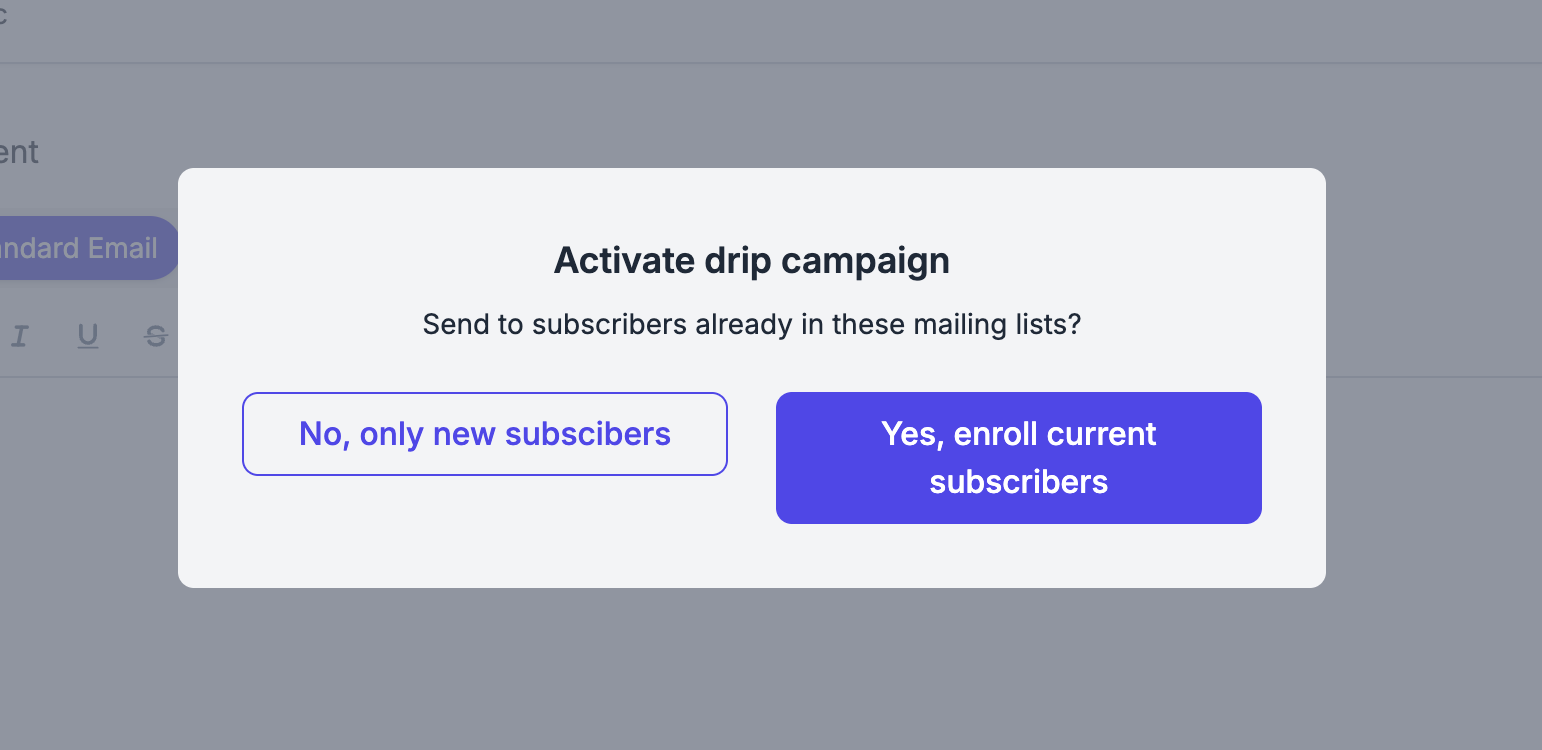
In both cases, any time a new contact is added to the mailing list, the email sequence will begin for them automatically.
How Dynamic Lists Work with Drip Campaigns
If your mailing list is dynamic, contacts are added automatically when they are assigned a specific label. This can happen when:
A lead fills in a form, submits a lead magnet, or visits an info page, and a label is assigned automatically via your settings.
You assign the label to a contact manually.
Once added to the list, the drip sequence starts for them right away.
Tip: You can set up email sequences directly from a Lead Magnet or Info Page, without going through the Drip Campaign page. This is usually faster. See the Lead Magnets and Info Pages help articles for details.
Removing Someone from the Sequence
If you remove a contact from the mailing list while the campaign is active, they will stop receiving emails immediately. Any emails not yet sent will be cancelled for that person.
Pausing and Reactivating a Campaign
You can deactivate a campaign at any time. When you reactivate it, no one receives duplicate emails. Contacts who had already received all the emails in the sequence will not receive them again. Contacts who were partway through will continue from where they left off.
Avoiding Duplicate Campaigns
A drip campaign starts whenever a contact is given a specific label, for example when they download a Lead Magnet. If two campaigns use the same label, those contacts would receive both email sequences at once.
To help you avoid this, whenever you connect a label to a Lead Magnet, SAGA shows you if another drip campaign is already using that label. That way you can pick a different one and keep your sequences from overlapping.
Tracking Performance
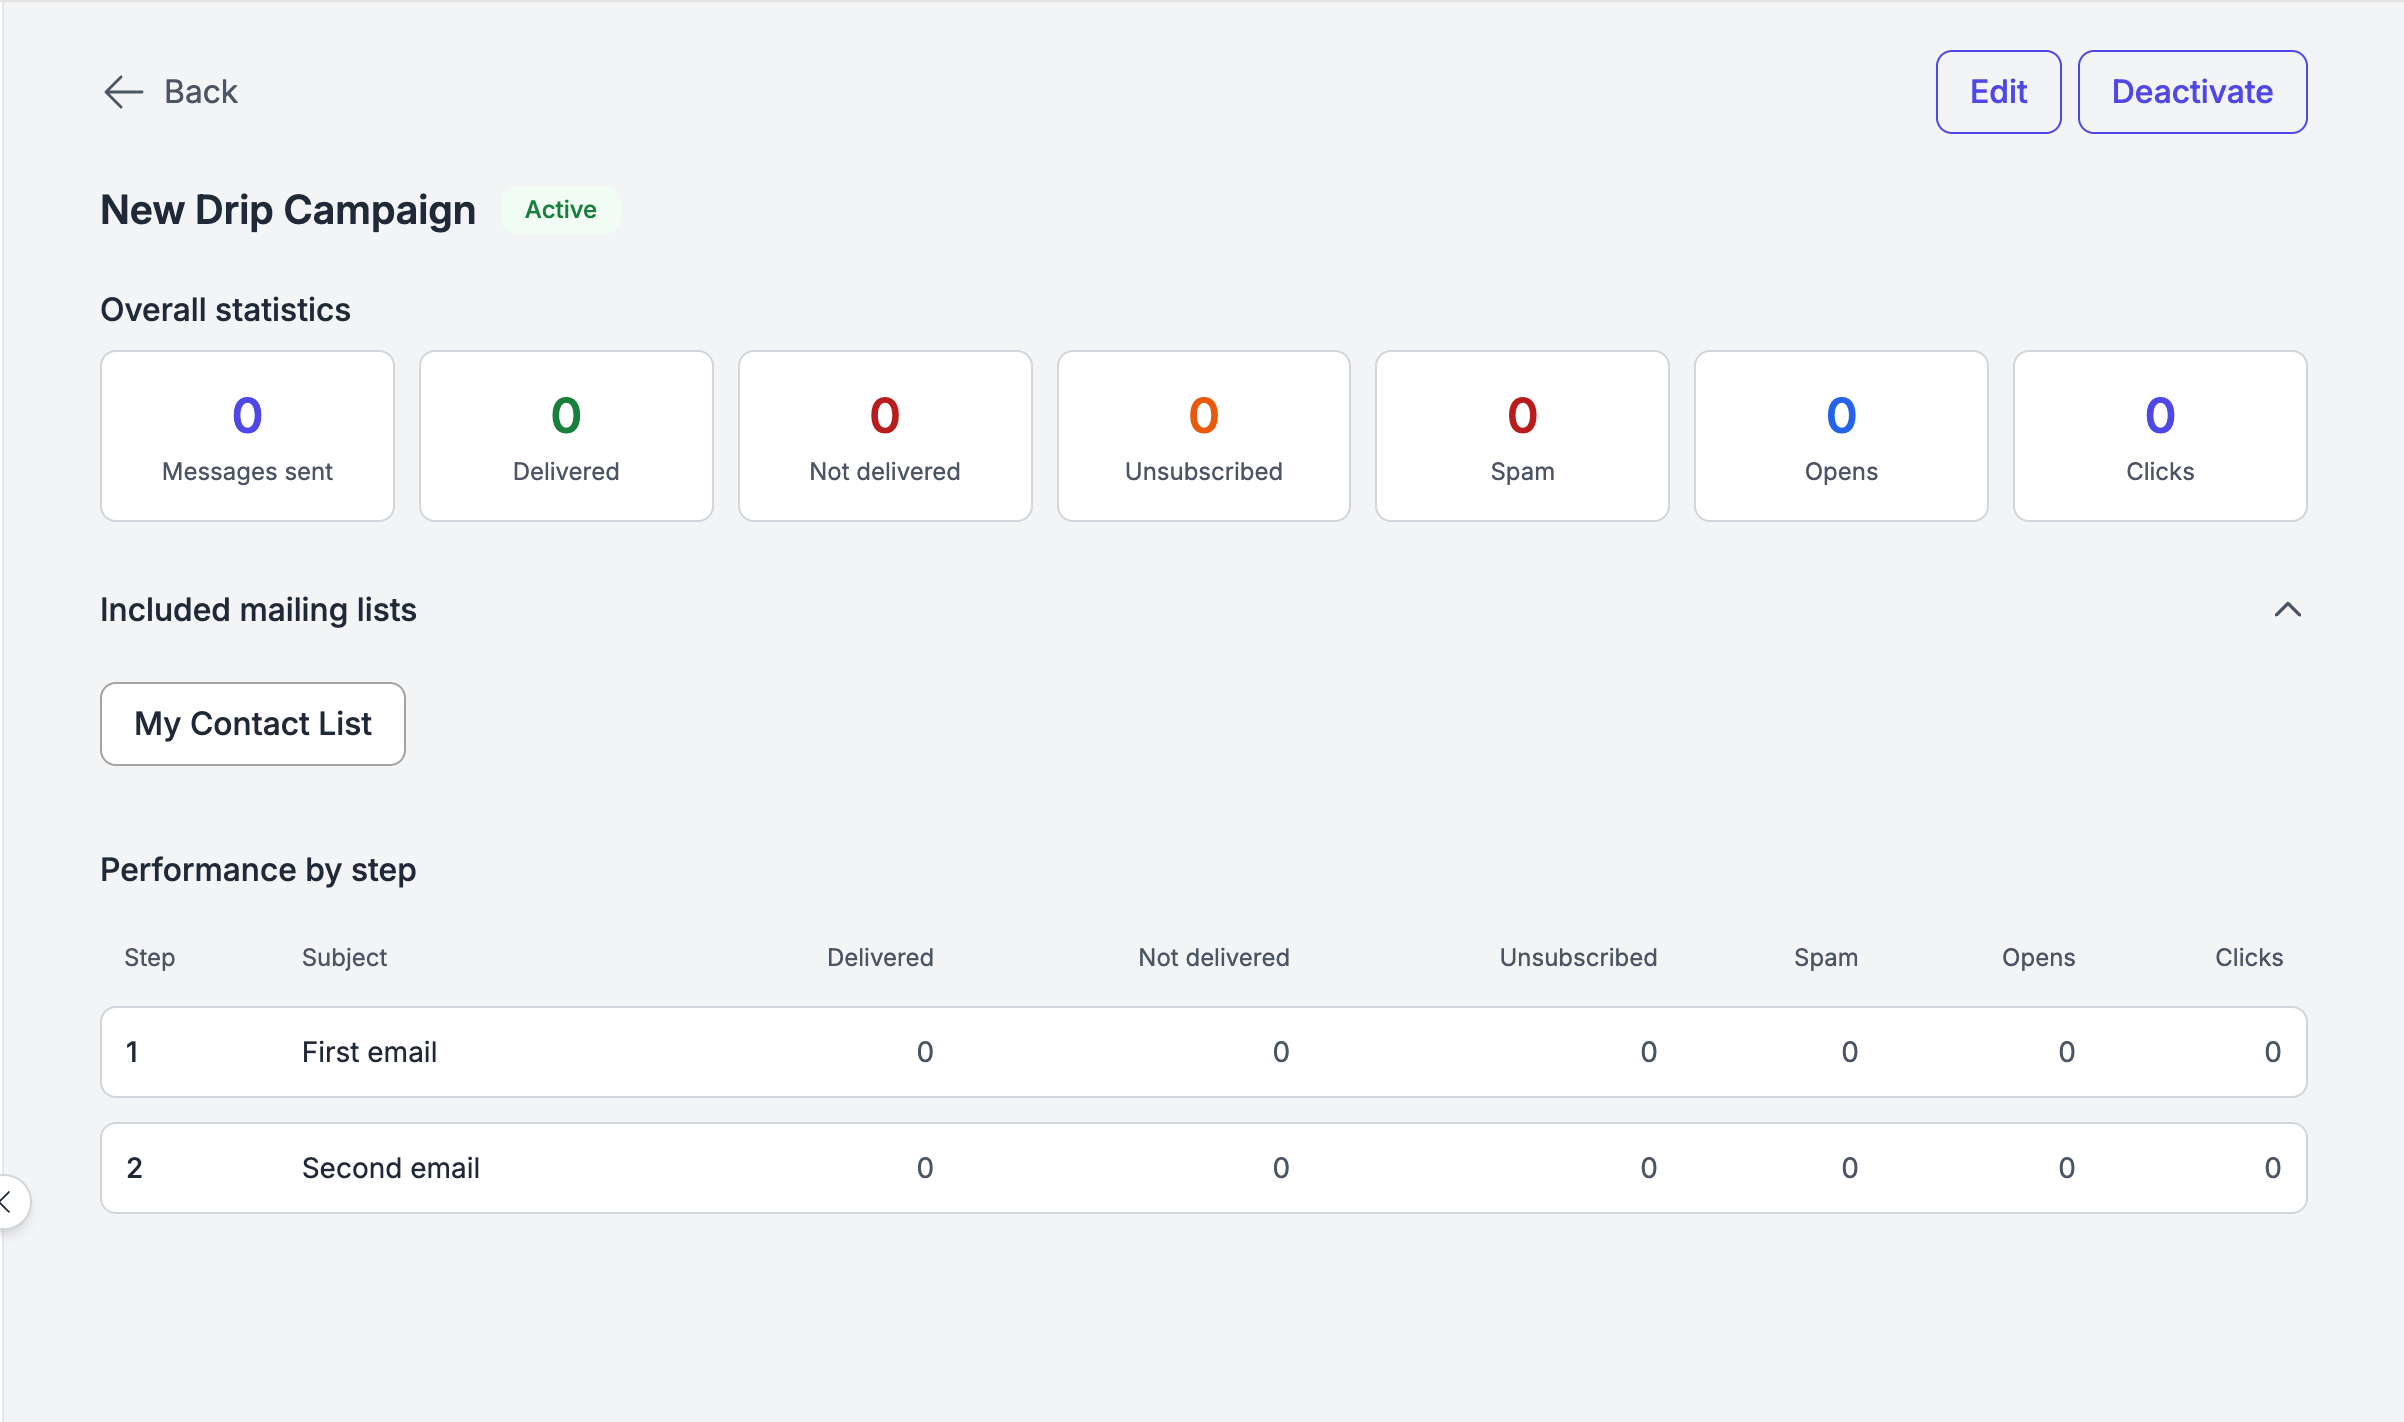
Once your campaign is active, you can view:
Overall statistics for the full campaign.
Per-email statistics for each individual email in the sequence.
Was this helpful?
Still need help? Ask the team